Azure Backup is a data protection solution which enables you to back-up your on-premises data to Microsoft Azure Service.
Step by Step guide:
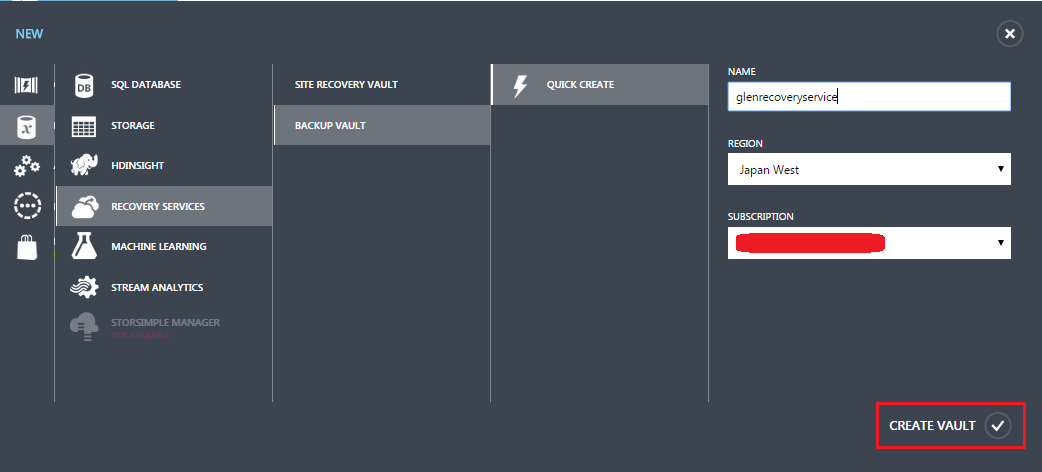
Configure the Backup Vault
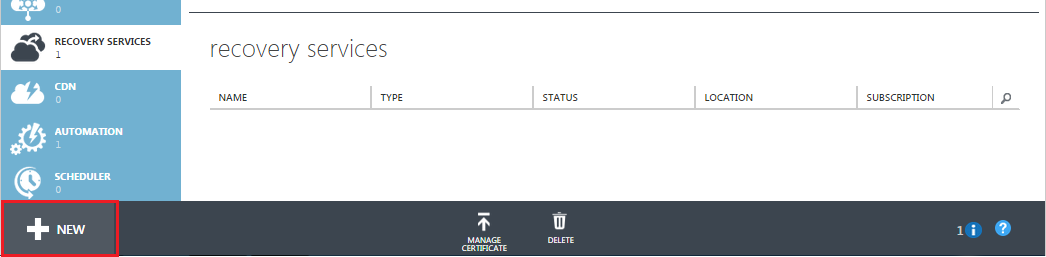
Open any browser, and go to your Azure Subscription. On the left side bar, you can scroll down to find Recovery Services.
Select Recovery Services, and click New at the bottom left of your browser.
Fill-in the Name for your backup vault and the Region. Then click Create Vault, and you’ll have your backup vault ready to use.
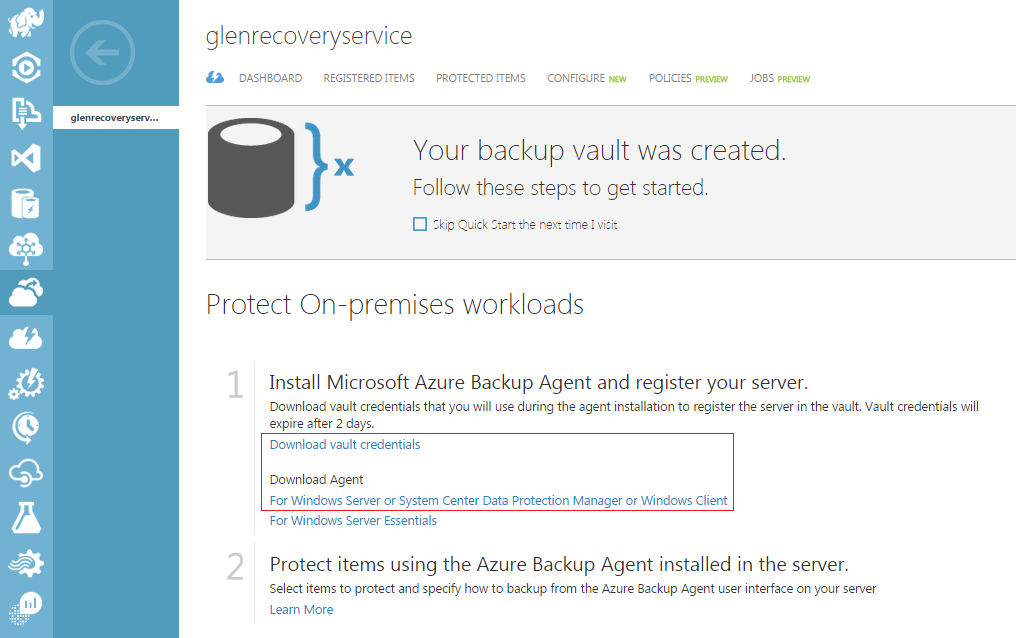
By clicking on the name of your backup vault, you’ll enter into your vault’s quick start page.

Download the Vault Credentials and Backup Agent
Download the vault credential from within your account, and that file will be used to establish the trusted connection; either for initially registering the server or workstation, or to recover items to a new machine. The vault credentials expire after 48hours. If the file expires, log in to the Azure portal and download the vault credentials files from your Backup vault.
Note: Treat this file with care. It’s a file that you don’t want to let get into the wrong hands.
And download the backup agent that you require. You can download the latest agent from here. This can be installed on Windows Server or Windows client.
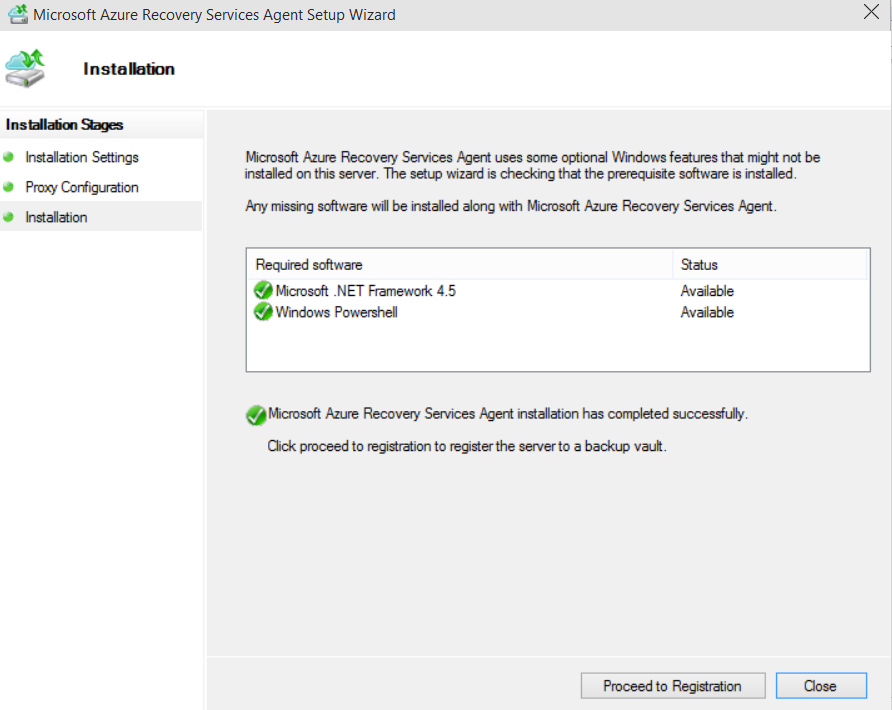
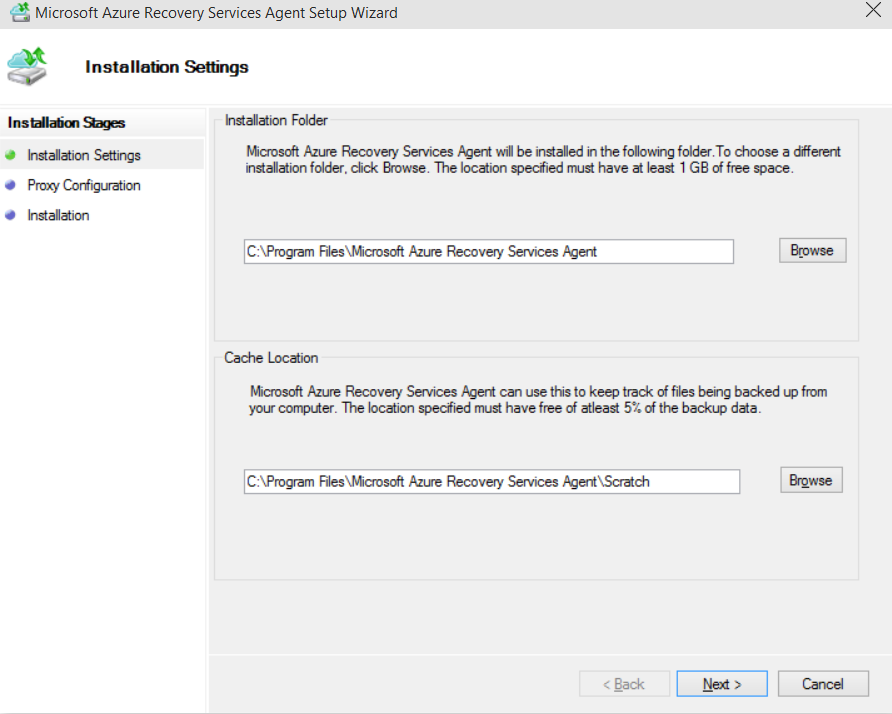
Installing Backup Agent
You will have some very basic configuration choices when you install the agent.
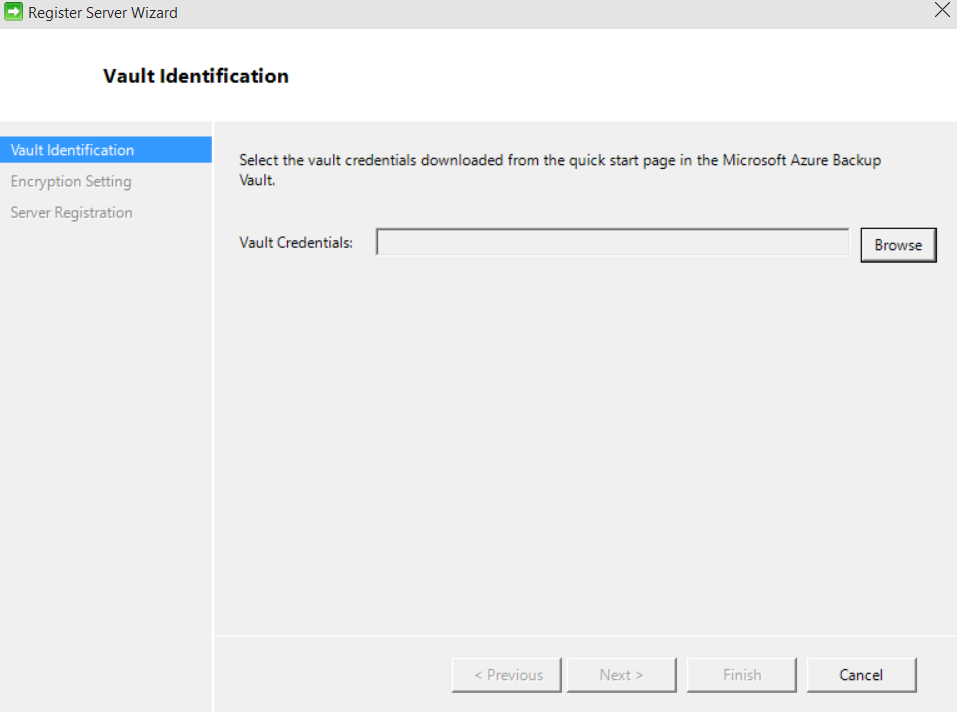
When you register the server, you’ll be asked to provide the vault credentials file that you downloaded earlier.
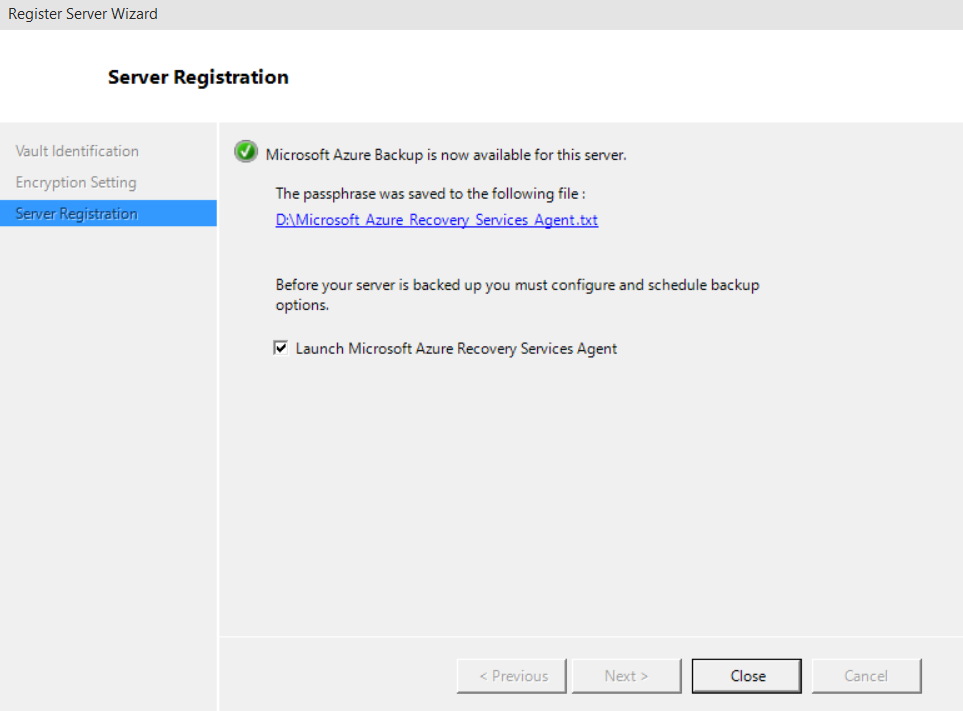
On the Encryption Setting page, you’ll either generate, or enter your own Passphrase. The encryption key should be at least 16 characters. The key used to encrypt the backup data is present only on the customer premises. Microsoft does not maintain a copy in Azure and does not have any access to the key. If the customer misplaces the key, Microsoft cannot recover the backup data.

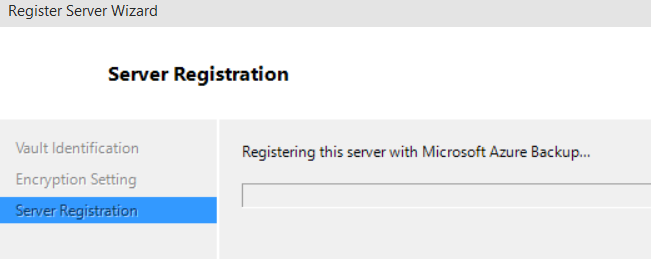
When you click Finish, the tool registers this “server”.
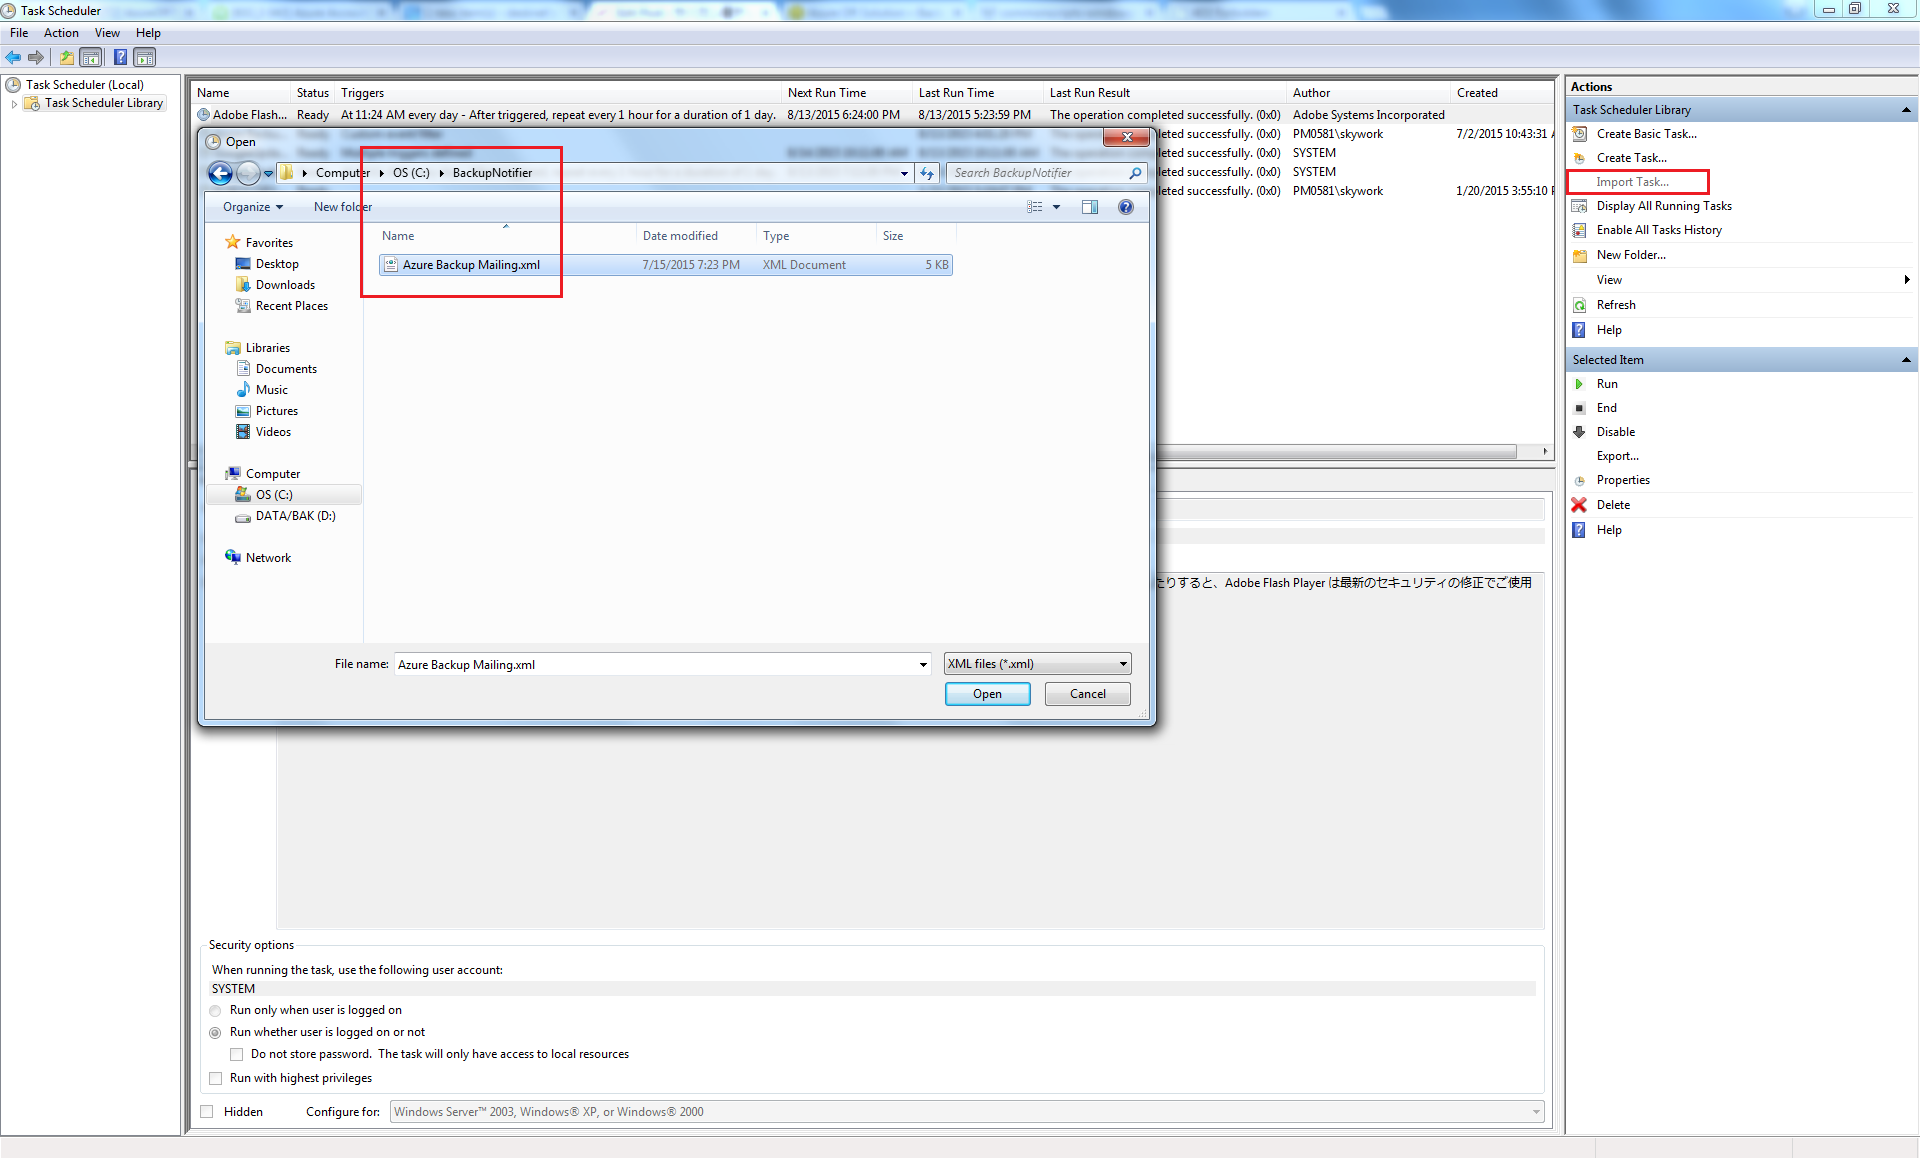
Azure Backup Notifier
Download from here and paste it in C:BackupNotifier, create if none. Then go-to Task Scheduler and import Azure Backup Mailing.xml.
Backup Agent - "Schedule and Recovering Backup"
The Azure Backup Agent work also on a server that uses Windows Server 2012 deduplication. The agent service converts the deduplicated data to normal data when it prepares the backup operation. It then optimizes the data for backup, encrypts the data and then sends the encrypted data to the online backup service.
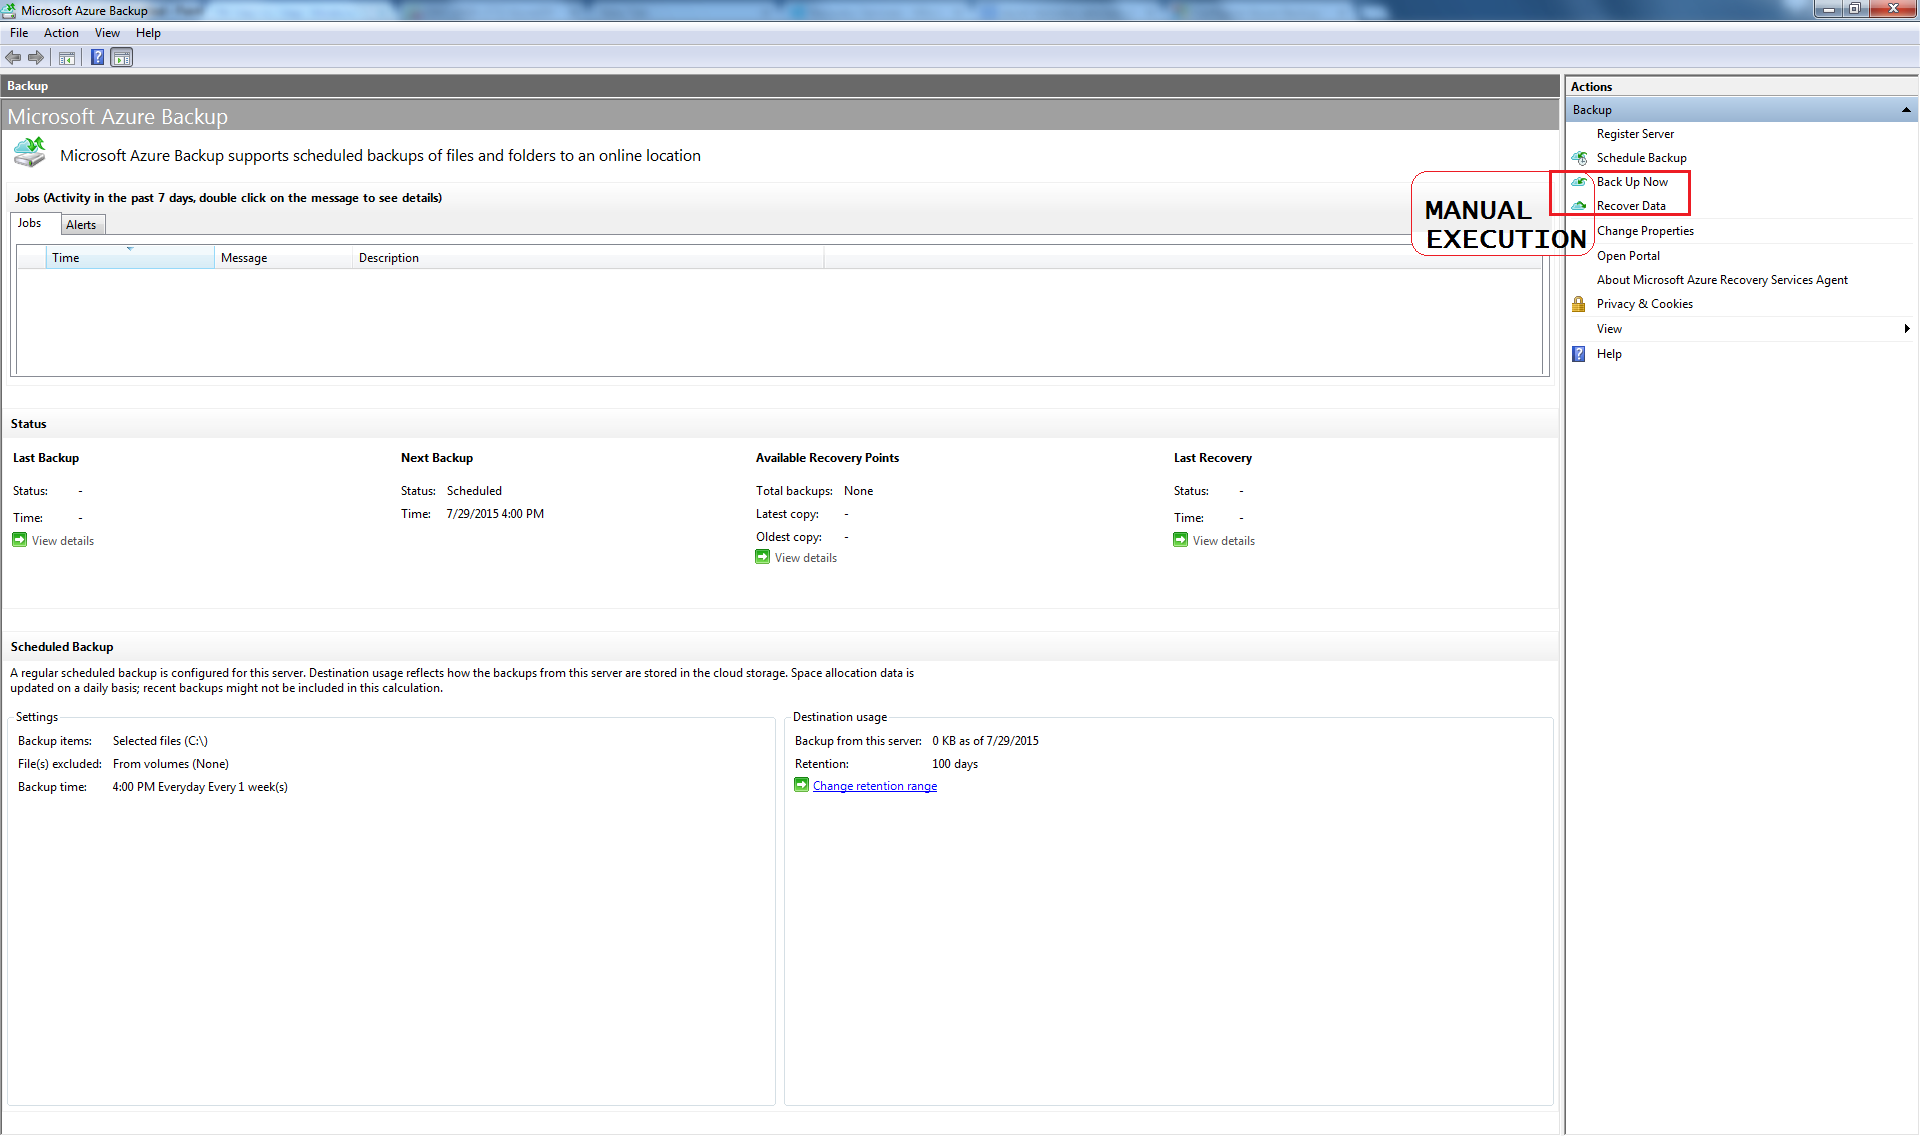
Schedule backup. Select the files to backup.
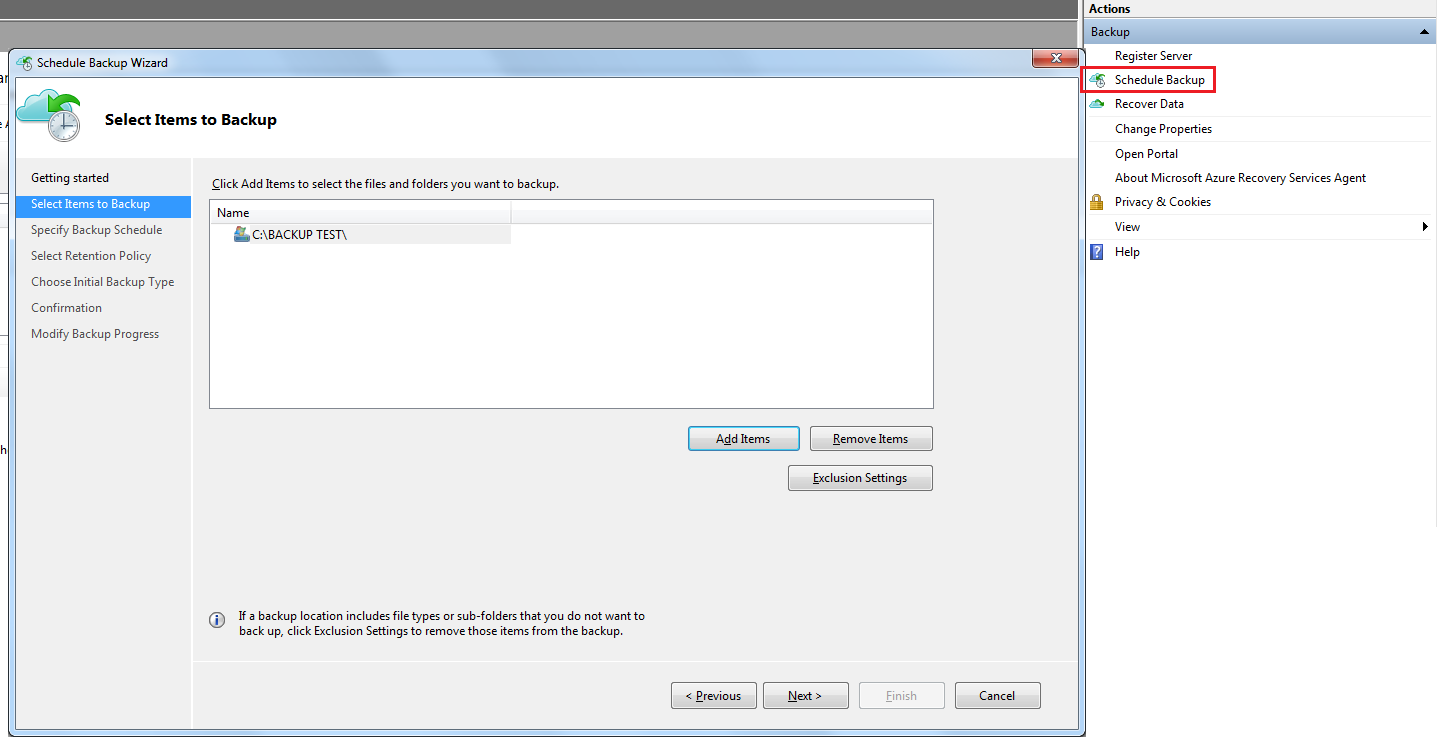
There are no limits on the amount of data that can be backed up from a Windows server/client. As of July 2015, each data source should be less than or equal to 1.7 TB.
A data source is either:
- File/Folder volume
- SQL DB
- Sharepoint farm
- Exchange server
- Hyper-V VM
The following set of drives/volumes can't be backup:
- Removable Media: The drive must report as a fixed to be used a backup item source.
- Read-only Volumes: The volume must be writable for the volume shadow copy service (VSS) to function.
- Offline Volumes: The volume must be online for VSS to function.
- Network share: The volume must be local to the server to be backed up using online backup.
- Bitlocker protected volumes: The volume must be unlocked before the backup can occur.
- File System Identification: NTFS is the only file system supported for this version of the online backup service.
The following file and folder types are supported:
- Encrypted
- Compressed
- Sparse
- Compressed + Sparse
- Hard Links
- Reparse Point
- Encrypted + Compressed
- Encrypted + Sparse
- Compressed Stream
- Sparse Stream
Set the time of schedule. Azure Backup enables 3 backup copies per day through Windows Server/Client.
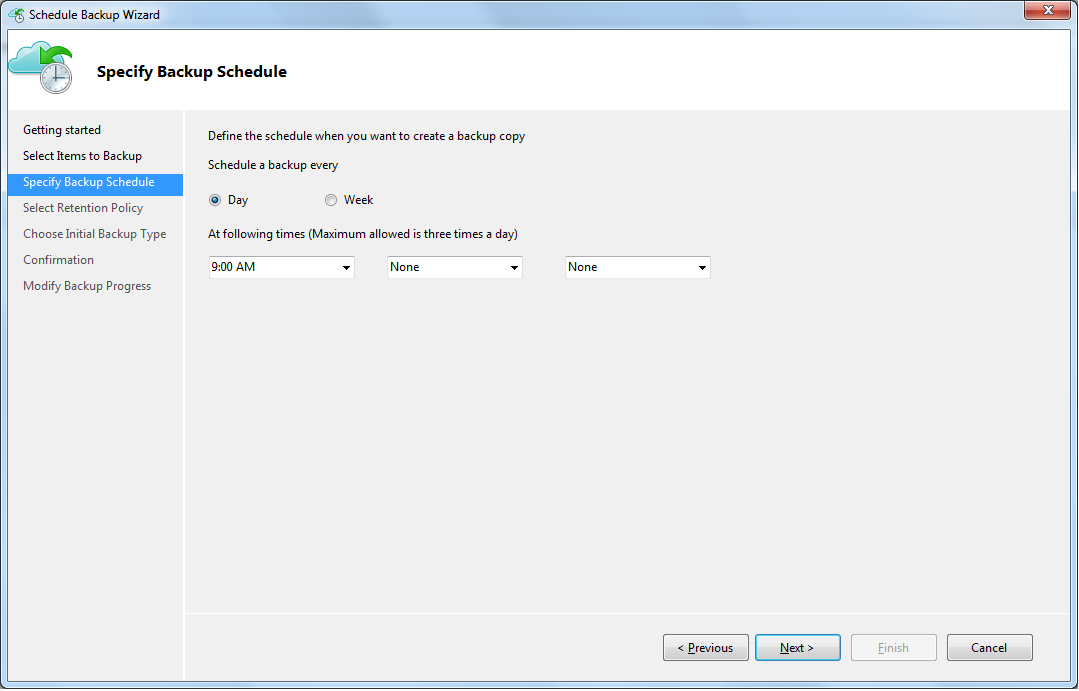
On the Select Retention Policy page, we have some pretty flexible options for retaining our backed-up data for longer periods of time. You can have upto 366 recovery points.

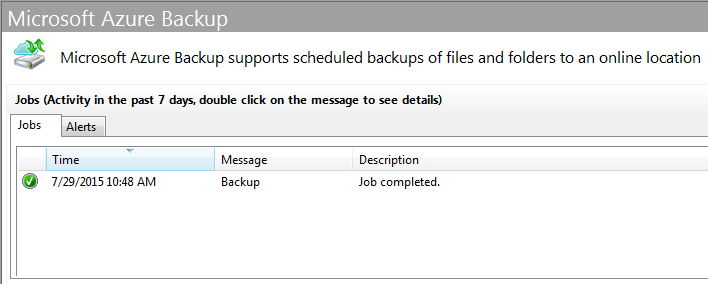
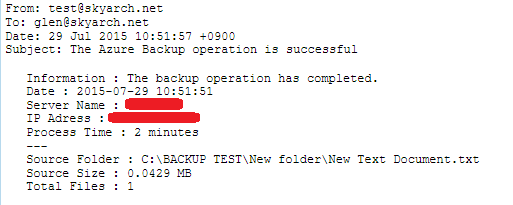
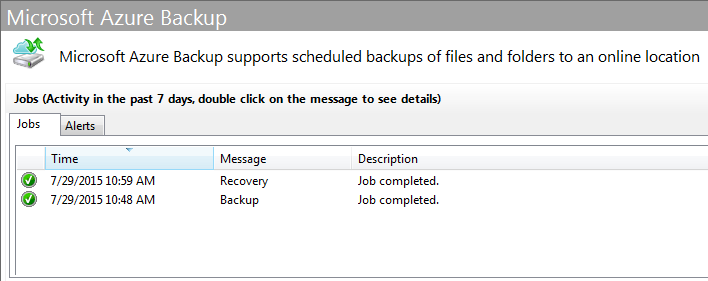
When the backup start.
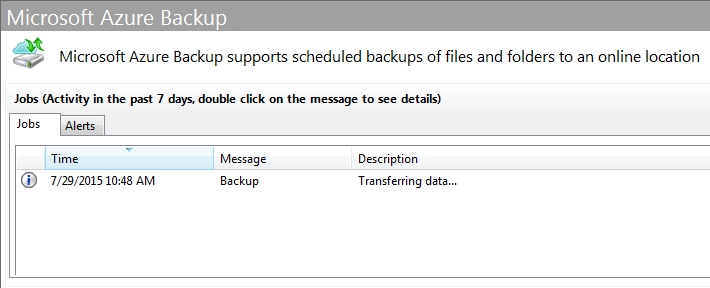
If it's completed, you will receive an email with the details of the backup jobs or Twillio SMS or Voice Message if the backup is successful or have an error.
Once you canceled a backup after it has started, the backup vault stores the backed up data that had been transferred up to the point of the cancellation. Azure Backup uses a checkpoint mechanism so that the backup data gets check-pointed occasionally during the backup and the next backup process can validate the integrity of the files. The next backup triggered would be incremental over the data that had been backed up previously. This provides better utilization of bandwidth, so that you do not need to transfer the same data repeatedly.
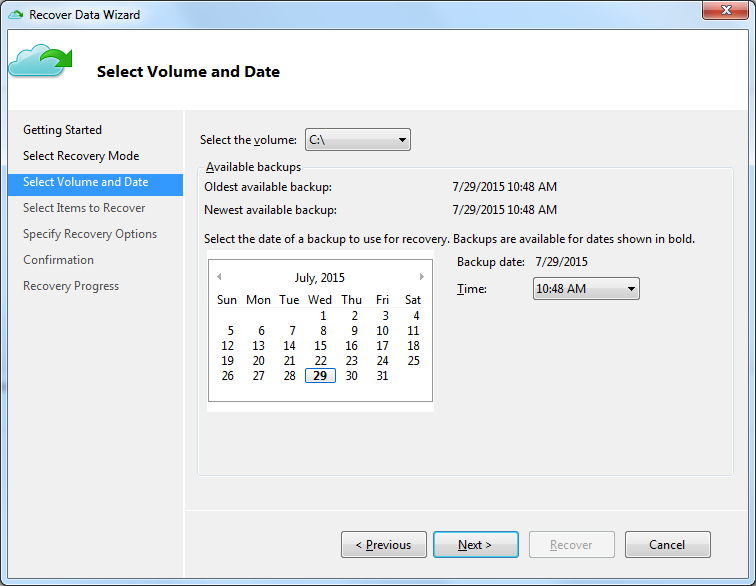
Recovering backup. There is no limit on the number of recoveries from Azure Backup. On the Select Volume and Date page, you use the drop-down to pick the volume from which your backup was taken, and then you’re presented with a calendar with some dates in bold representing points in time when you’ve completed past backups. Any servers that are registered using the same vault will be able to recover the data backed up by other servers that use the same passphrase. If you have servers that you want to ensure recovery only occurs to specific servers in your organization, you should use a separate passphrase designated for those servers. For example, human resources servers could use one encryption passphrase, accounting servers another, and storage servers a third.
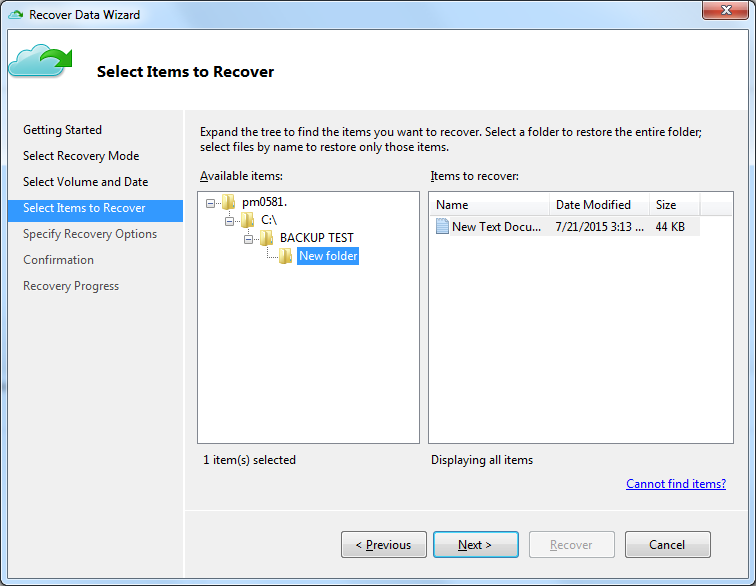
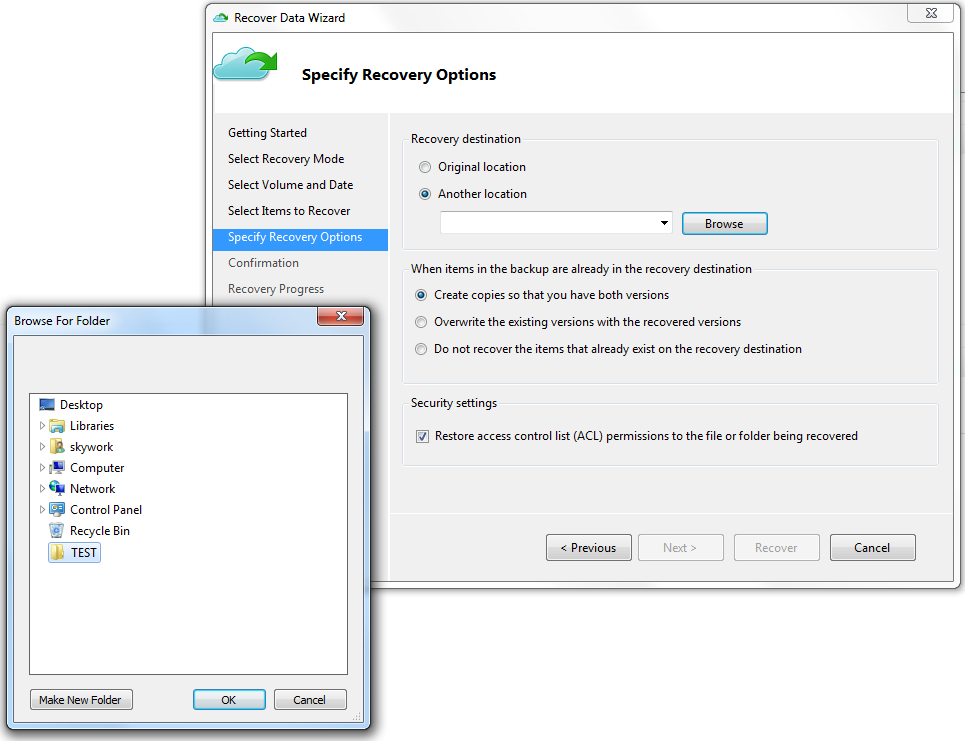
Select the files to recover.
On the Specify Recovery Options page, we have some choices about whether or not we want to restore to the original location, or how to handle duplicates. We can even choose to restore (or not) the Access Control List (ACL – the security permissions) that were associated with the original file.
When completed you will received an email or Twillio SMS or Voice Message that the recovery is finished and successful.
Azure Backup - FAQ
Installation & Configuration
- 64bit Only
- Windows 8.1 / Windows 8 / Windows 7
- Windows Server 2012 R2 / Windows Server 2012
- Windows Server 2008 R2 Service Pack 1 (SP1)
- Windows Server 2008 Service Pack 2 (SP2)
-
The following list of operating systems is supported by Azure Backup
-
As of July 2015, you can create 25 vaults per subscription. If you need more vaults, then create a new subscription. You can register upto 50 machines per vault. If you need to register more machines, create a new vault.
-
If you rename a Windows server that is backing up data to Azure. Any currently configured backups will be stopped. You will need to re-register the server with the backup vault and it will be considered a new server by Recovery Services, so the first backup operation that occurs after registration will be a full backup of all of the data included in the backup instead of just the changes since the last backup occurred. However, if you need to perform a recovery operation you can recover the data that has been backed up using Recover from another server recovery option. For more information, see Rename a server.
-
You CAN'T migrate any backup data or vault between subscriptions. The vault is created at a subscription level and cannot be reassigned to another subscription once it’s created.
-
Data is encrypted on the on-premises server/client machine using AES256 and the data is sent over a secure HTTPS link.
-
The data which is sent to Azure remains encrypted (at rest). Microsoft does not decrypt the backup data at any point.