This post will show you how you can use SkyHopper in configuring your windows instances on AWS Cloud and Chef that provisions a new Windows EC2 instance by using CloudFormation and bootstraps it using Opscode Chef – given that the reader has the knowledge on the following technologies.:
- Has a basic working knowledge of Opscode Chef
- Already configured and installed SkyHopper in their workstation or on a Amazon Linux Instance
- Already Created projects and Infrastructure in SkyHopper
- Has basic knowledge of Windows winrm/SSH protocol
- Has an AWS account to be used to create/manage your instances
If you haven't installed SkyHopper yet, Please Visit skyhopper.org for more information on how to use the system.
Previously SkyHopper does only support Linux instances only which is fairly easy to handle using chef server by SSH connection with just a few clicks away, in which it connects to it over SSH using the specified key pair, installs chef-client, and bootstraps the node using the specified run_list. Done.
Meanwhile, things are a bit different when it comes to Windows Server instances.
Working with Windows instances in EC2 using Chef presents a few hurdles:
- Windows doesn’t natively support SSH.
- The
knife ec2 server createcommand waits for the instance to accept SSH connections. There is no option to circumvent this. - Windows takes forever to provision.
- Windows instances typically get a random Administrator password generated for them that takes over 15 minutes to retrieve.
- The
knife-windowsgem provides aknife bootstrap windows winrmcommand that can bootstrap an existing Windows instance with Chef, but cannot provision a new instance. - The
knife bootstrap windows winrmcommand requires WinRM to be configured on the instance (which it isn’t be default), requires the Administrator password of the instnace (which defaults to a random value), and requires the public IP address of the instance (which we don’t know until the instance is up).
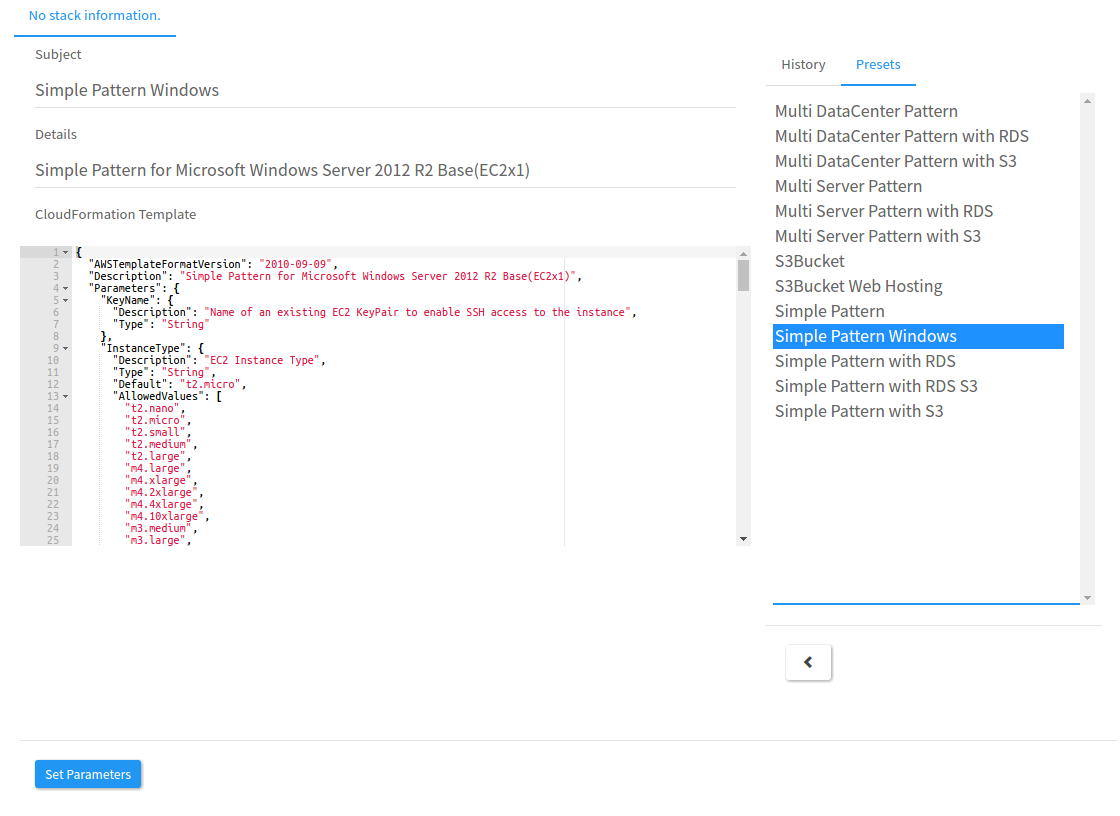
But these features are already configured and provided in SkyHopper System which has already an all-in-one solution for bringing up new Windows Server nodes in the Amazon cloud using CloudFormation and Chef.
The CloudFormation's Magical Powers
The json script that is already included in skyhopper list of cloudformation templates uses has the power to make this all work:
It includes the “user data” file to pass to the EC2. This gets executed by the new instance when it is first provisioned. There are two tricks we need to stick into the user data file:
"UserData": {
"Fn::Base64": {
"Fn::Join": [
"",
[
"<powershell>\n",
"$cert = New-SelfSignedCertificate -CertStoreLocation Cert:\LocalMachine\My -DnsName hostname \n",
"winrm delete winrm/config/Listener?Address=<em>+Transport=HTTPS \n",
"New-Item -Address </em> -Force -Path wsman:\localhost\listener -Port 5986 -HostName ($cert.subject -split '=')[1] -Transport https -CertificateThumbPrint $cert.Thumbprint \n",
"Set-Item WSMan:\localhost\Shell\MaxMemoryPerShellMB 1024 \n",
"Set-Item WSMan:\localhost\MaxTimeoutms 1800000 \n",
"netsh advfirewall firewall add rule name='WinRM-HTTPS' dir=in localport=5986 protocol=TCP action=allow \n",
"</powershell>"
]
]
}
}
- A BAT
<script>that configures WinRM (Windows Remote Management), which is what we’ll use to connect to and bootstrap the instance. - A
<powershell>script configures the firewall to accept remote WinRM Connection. By default, the Windows firewall permits inbound traffic on port 5985 (WinRM) only from systems in the same local domain. Let's make sure that the firewall is configured to accept inbound connections from any remote address.
- Create and set the Cloudformation Stack so that we can now power up a windows instances as specified.
- And wait for the process to be completed
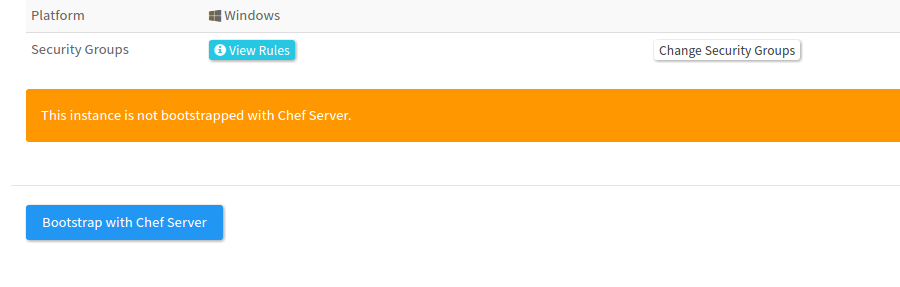
Finally, we can bootstrap the new running Windows instance with the by pressing the bootsrap button which executes knife bootstrap windows winrm command, using the IP address we acquired, the password we specified in the user data, and the other knife params we want to use such as the run_list and environment.